
Upgrading your bathroom does not always require a massive renovation budget or a team of contractors. Sometimes, simply swapping out your old vanity for a modern piece can completely transform the space. Whether you are aiming for a minimalist floating design or a classic mid-century freestanding look, installing a bathroom vanity is a manageable DIY project. Let us walk you through the process in five straightforward steps.
Step 1: Gather Your Tools and Prepare the Space
Before diving in, make sure you have everything you need. Grab a tape measure, stud finder, level, drill, silicone sealant, and an adjustable wrench. Start by turning off the water supply valves under the sink. Turn on the faucet to drain any remaining water, then carefully disconnect the plumbing. Remove your old vanity and clean the wall and floor area. This is the perfect time to patch any holes or repaint the wall behind the sink.
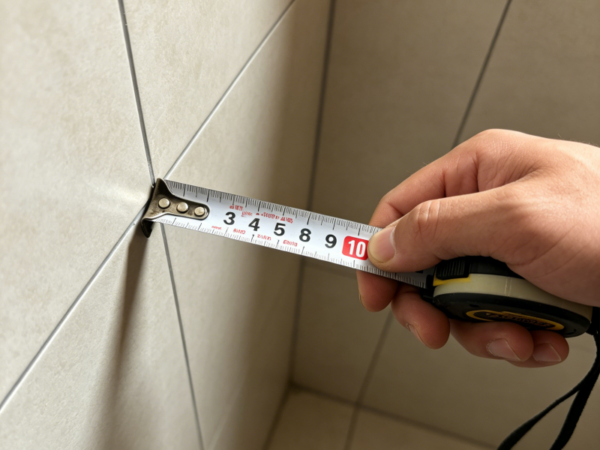
Step 2: Mark Your Layout and Find the Studs
Accuracy is everything when installing a new piece. Use your tape measure and pencil to mark the exact height and width of your new vanity on the wall. If you are installing a modern floating vanity, finding the wall studs is crucial for support. Run a stud finder along the wall and mark the locations clearly. You want to ensure your mounting brackets go directly into the solid wood so your cabinet stays perfectly secure.
Step 3: Position and Secure the Vanity
If you have a freestanding vanity, carefully move it into position and use a level to check if it sits evenly on the floor. You can adjust the legs if necessary. For a floating vanity, attach the mounting bracket to the wall studs you marked earlier, then carefully lift the cabinet and lock it into place. Always double-check with your level to make sure the top is perfectly straight before fully tightening the screws.
Step 4: Install the Sink Top and Seal
Once the cabinet is securely in place, it is time to add the sink top. Apply a generous bead of silicone sealant along the top edges of the vanity cabinet. Carefully lower the sink top onto the cabinet, pressing down gently to ensure a tight seal. Wipe away any excess silicone immediately with a damp cloth. Let the sealant dry according to the instructions on the tube to prevent any water damage in the future.
Step 5: Reconnect the Plumbing and Test
The final step is bringing your bathroom back to life. Reconnect the hot and cold water supply lines and attach the P-trap to the drain. Take your time to ensure all connections are tight, but avoid over-tightening which can damage the pipes. Turn the water supply valves back on and let the faucet run for a few minutes. Check underneath for any leaks. If everything is dry, your installation is a success.
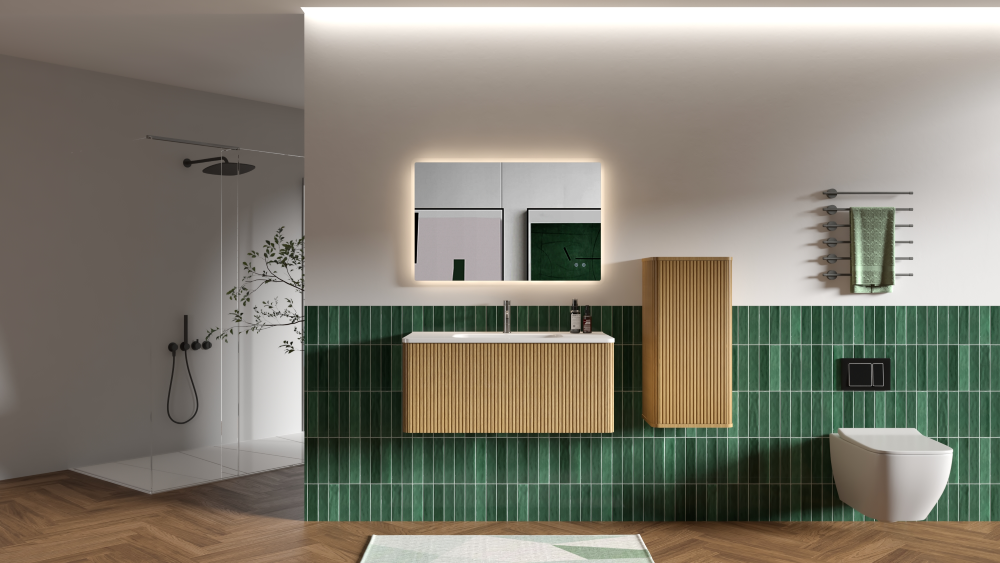
Upgrade Your Space Today
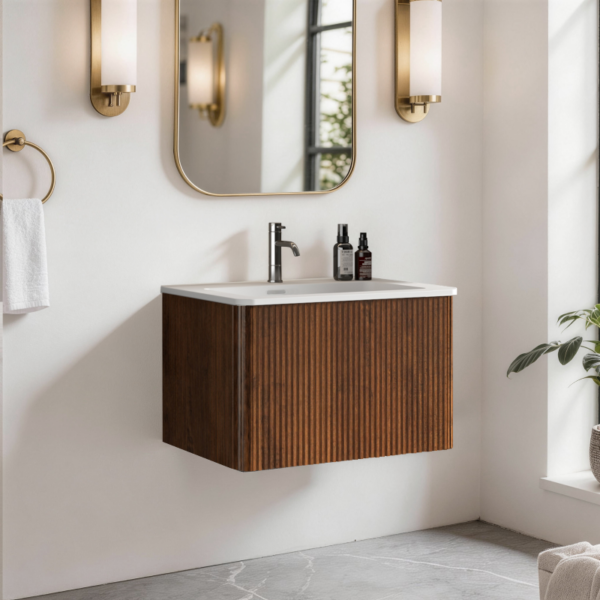
A fresh bathroom vanity not only elevates your daily routine but also adds incredible value to your home. If you are feeling inspired to start your own bathroom makeover, explore our latest collection of premium bathroom vanities. From space-saving fluted wood designs to elegant freestanding cabinets, we have the perfect piece to match your aesthetic. Do not forget to pair it with our smart LED bathroom mirrors for that ultimate spa-like finish.
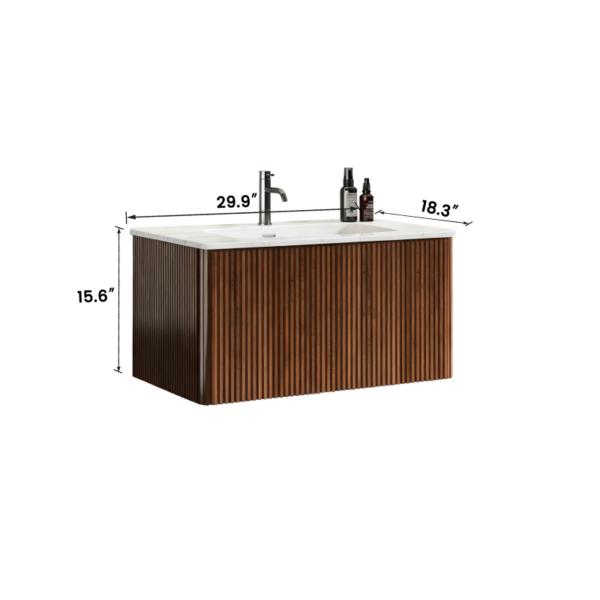
https ://www.cittaneo.com/product/etna30-striped-natural-oak-bathroom-vanity-with-white-ceramic-sink